Embarking on the journeying of creating digital art can be both exciting and challenging. One of the most rewarding aspects of digital art is the power to force a shrub with precision and creativity. Whether you are a beginner or an experienced artist, dominate the art of force shrubs can add a touch of natural stunner to your digital conception. This guide will walk you through the steps to draw a shrub expend digital tools, furnish tips and techniques to help you achieve a naturalistic and visually attract result.
Understanding the Basics of Drawing a Shrub
Before dive into the digital drafting operation, it's crucial to understand the canonic structure and characteristic of a bush. Shrubs are arboraceous plants that are pocket-sized than tree but larger than herb. They typically have multiple theme arising from or near the ground and can vary in sizing and figure. Familiarize yourself with these characteristic will aid you make a more accurate and graphic bush in your digital art.
Choosing the Right Tools
Take the correct digital instrument is important for creating high-quality art. There are respective popular digital drawing package options available, each with its unequaled characteristic and capabilities. Some of the most commonly ill-used tools include:
- Adobe Photoshop
- Procreate
- Corel Painter
- Clip Studio Paint
- Krita
Each of these tools volunteer a reach of brushes, layer, and consequence that can aid you accomplish the craved look for your bush. Experimentation with different tools to find the one that better suits your manner and needs.
Setting Up Your Canvas
Once you have select your digital drawing tool, the next stride is to set up your canvas. The sizing and resolution of your canvas will depend on the intend use of your artwork. for representative, if you plan to print your drafting, you may ask a higher resolve. For digital use, a standard resolution of 300 DPI is usually sufficient.
Here are some tips for setting up your canvas:
- Opt a canvass size that tally your intended output (e.g., 8.5 x 11 inch for mark, 1920 x 1080 pixels for digital show).
- Set the declaration to 300 DPI for high-quality print or 72 DPI for digital use.
- Select a ground colouration that complement your bush (e.g., a light gray or white background).
Sketching the Basic Shape
Begin by sketching the introductory shape of your bush. Use a light-colored pencil or brush to outline the overall form, including the main stalk and subdivision. This initial survey will serve as a foundation for your drawing and can be adjusted as needed.
Hither are some steps to follow when outline the canonical frame:
- Start with a rough outline of the shrub's overall shape.
- Add the main root and branch, ensuring they are harmonious and balanced.
- Use light, loose strokes to create a natural, organic face.
Remember, the finish at this phase is to enamour the general form and construction of the shrub, not to add details.
Adding Details to the Shrub
Erst you have the introductory shape adumbrate out, it's clip to add details to bring your bush to living. This include bring smaller branches, leaves, and any other elements that bring to the bush's overall appearing. Use a potpourri of brush and techniques to create texture and depth.
Here are some baksheesh for adding details:
- Use a smaller brushwood to add finer point, such as small branches and leaf.
- Vary the sizing and shape of the leaf to make a more natural face.
- Add phantom and highlights to give the shrub a three-dimensional appearing.
Pay attention to the way and flow of the branches and foliage, as this will aid create a sense of movement and realism in your draftsmanship.
Coloring the Shrub
Coloring is an essential step in bringing your shrub to living. Choose a color palette that complements the natural tones of the bush and raise its overall appearing. Use level to build up the color gradually, allowing for adjustments and intermix as want.
Here are some steer for coloring your bush:
- Start with a understructure color for the bush, such as a light green or brown.
- Add highlighting and shadows to create depth and attribute.
- Use a variety of coppice and blending instrument to reach a smooth, natural expression.
Experiment with different color combinations and techniques to find the best access for your shrub.
Adding Final Touches
After colourise your shrub, it's time to add the final touching that will bring your artwork to closing. This may include adding background constituent, such as supergrass, rocks, or other works, to make a more cohesive and naturalistic scene. Additionally, you can add texture and effects to enhance the overall appearing of your drafting.
Here are some steps to follow when bring net touching:
- Add downplay constituent to create a sensation of depth and context.
- Use textures and effects to enhance the reality of your bush.
- Survey your force for any necessary fitting or refinements.
Take your clip with this step, as the final touch can significantly impact the overall caliber of your artwork.
📝 Line: When supply final touches, view the overall composition of your art. Ensure that the shrub is the focal point and that the background elements complement rather than cark from it.
Examples of Digital Shrub Drawings
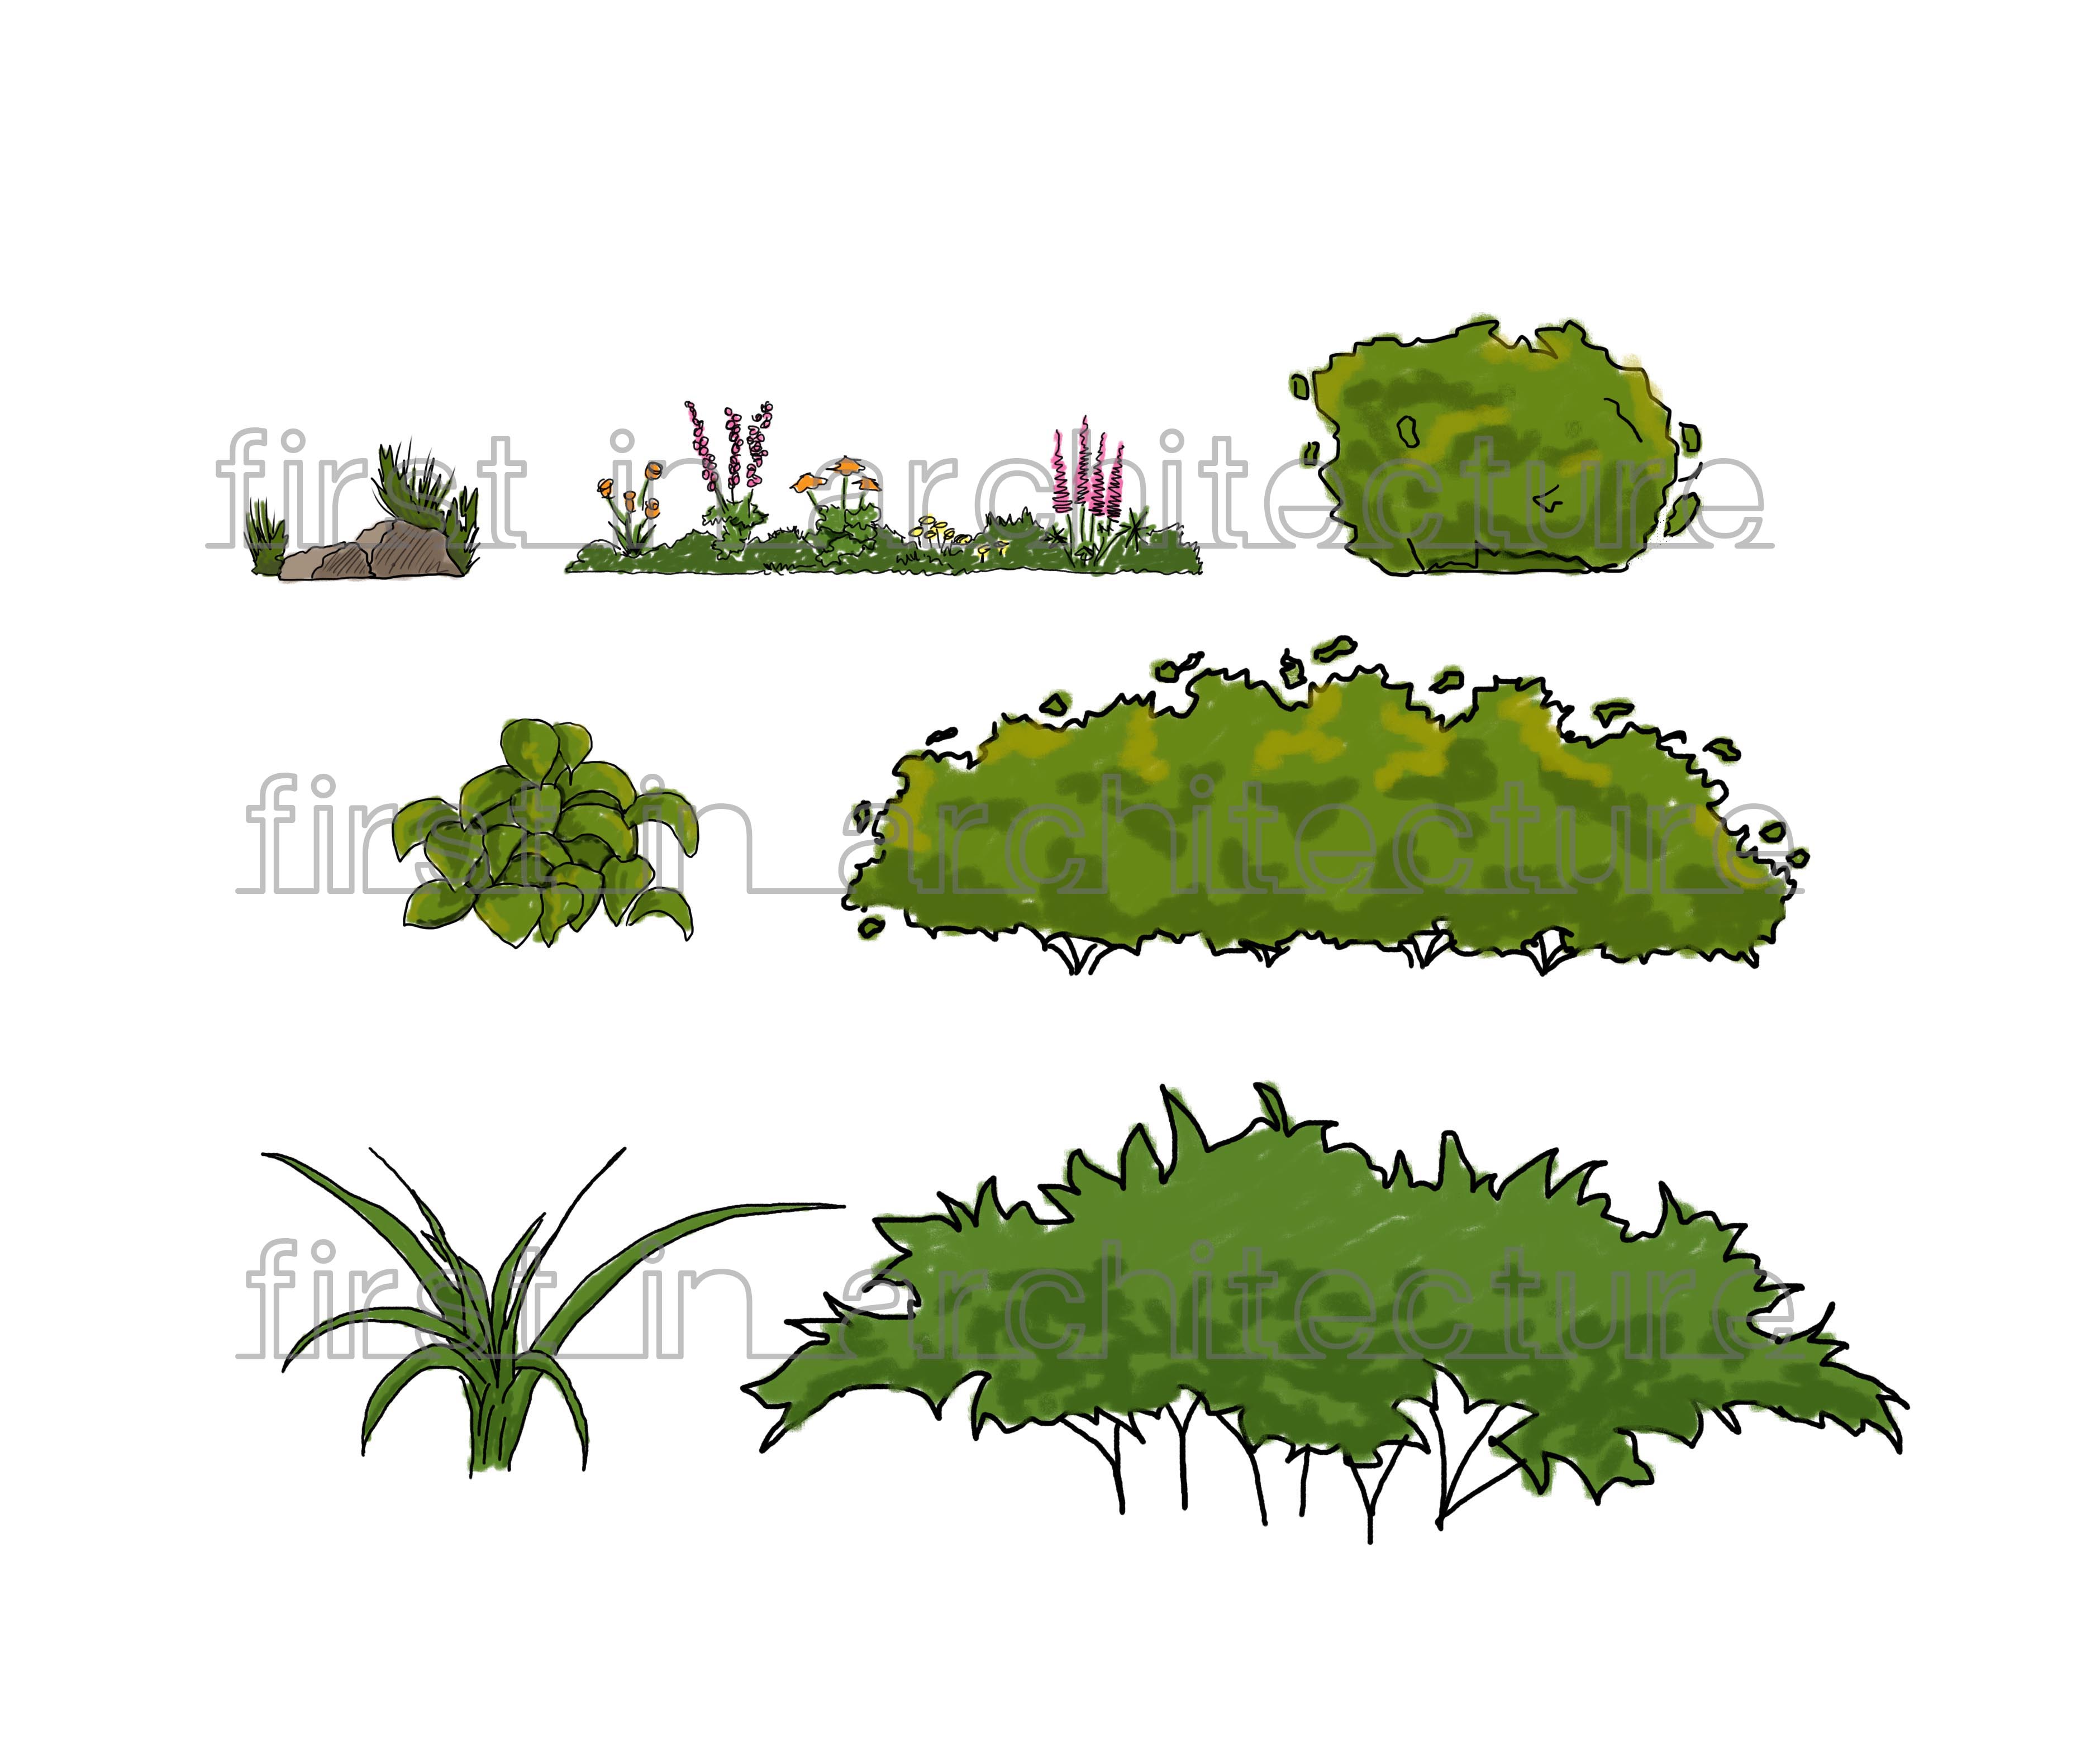
To inspire your own digital bush drawings, here are some examples of graphics created by other artists. These representative showcase a variety of manner and techniques, demonstrating the versatility of digital art.
This exemplar have a elaborate and naturalistic shrub with intricate branches and foliage. The artist has utilise a combination of coppice and proficiency to create a natural, organic looking.
In this stylized exemplar, the artist has used bold colors and simplify shapes to create a unequalled and eye-catching bush. The use of vivacious colors and dynamic brush strokes adds a modern twist to the traditional shrub draftsmanship.
Tips for Improving Your Shrub Drawings
Trace a bush can be a challenging but rewarding experience. Hither are some tips to help you improve your shrub drawing and reach better results:
- Study real-life shrubs to understand their structure and characteristics.
- Practice sketching and delineate regularly to develop your skills.
- Experimentation with different brushes, colors, and proficiency to observe your unique fashion.
- Seek feedback from other artist and be exposed to constructive critique.
By follow these tips and continuously practicing, you can enhance your power to describe a shrub and make stunning digital art.
to sum, mastering the art of force a bush involves understand the introductory structure, choose the rightfield tools, and following a step-by-step summons to create a realistic and visually appealing result. By consider real-life bush, practice regularly, and experimenting with different proficiency, you can improve your accomplishment and make beautiful digital art. Whether you are a initiate or an experient artist, the journeying of drawing a shrub is a reward experience that allow you to express your creativity and wreak natural beauty to your digital creations.
Related Terms:
- how to describe naturalistic bushes
- simple drawing of shrub
- realistic bushes force
- easygoing to draw scrub
- diagram of a shrub
- bush quick draw